Thank you for choosing the stainless steel garden shower from LIVLIG. This shower is designed to give you a refreshing and comfortable way to cool down outdoors. Please read these instructions carefully before using the shower.
Scope of delivery:
- 1 x Stainless Steel Garden Shower
- 1 x Montageset
- 1 x User Manual
Safety instructions:
- Only use the shower as described in these instructions.
- Make sure the shower is installed on a stable and flat surface.
- Keep the shower away from children when unattended.
- Regularly check all connections for leaks.
- Protect the shower from frost by emptying it and storing it in winter.
Montage:
- Choose a suitable location for the shower, preferably near a water supply.
- Secure the shower securely to the floor using the floor anchors.
- Connect the garden hose to the shower water connection.
- Make sure all connections are tight and tight.
Use:
- Open the faucet to supply water to the shower.
- Set the desired water flow.
- Enjoy the refreshing outdoor shower.
- Close the faucet after use to save water.
Cleaning and maintenance:
- Clean the shower regularly with a soft cloth and mild detergent.
- Do not use aggressive cleaning agents or abrasive cleaners to avoid damaging the stainless steel surface.
- Regularly check all connections and seals for wear and replace if necessary.
Disposal: Dispose of the shower in accordance with local regulations for metal and plastic waste.
Guarantee: The LIVLIG stainless steel garden shower comes with a 2-year guarantee. Keep your proof of purchase for possible warranty claims.
LIVLIG is a brand of New Ventures GmbH, which is managed by a dedicated team.
New Ventures GmbH
Reichenberger Straße 17
95111 Rehau
Email: support@livlig.com
Phone: +49 928359131053
(PLEASE NOTE: Please do not use this address for returns.
You want to return something? Then use this ( Link .)
Managing Directors: Alexander Mietzke and Alice Lottes
Commercial register at the Hof District Court, HRB 6318
VAT identification number: DE342414328

ABOUT US
WHY LIVLIG?
LIVLIG combines quality and design. We are always looking for that certain something and offer you special products that you won't find in stores. We love garden life and are convinced by our products. If this is not the case for you, you can send the products back to us unused within 30 days
4,88 von 5
SEHR GUT
935 Bewertungen
92%
Empfehlungen
KundenserviceSEHR GUT (4,56)
Preis / LeistungGUT (4,22)
scope of delivery
The shower arrives well packaged and contains everything you need to set it up:
- Stand
- Rod element with water regulator
- rod element for shower head
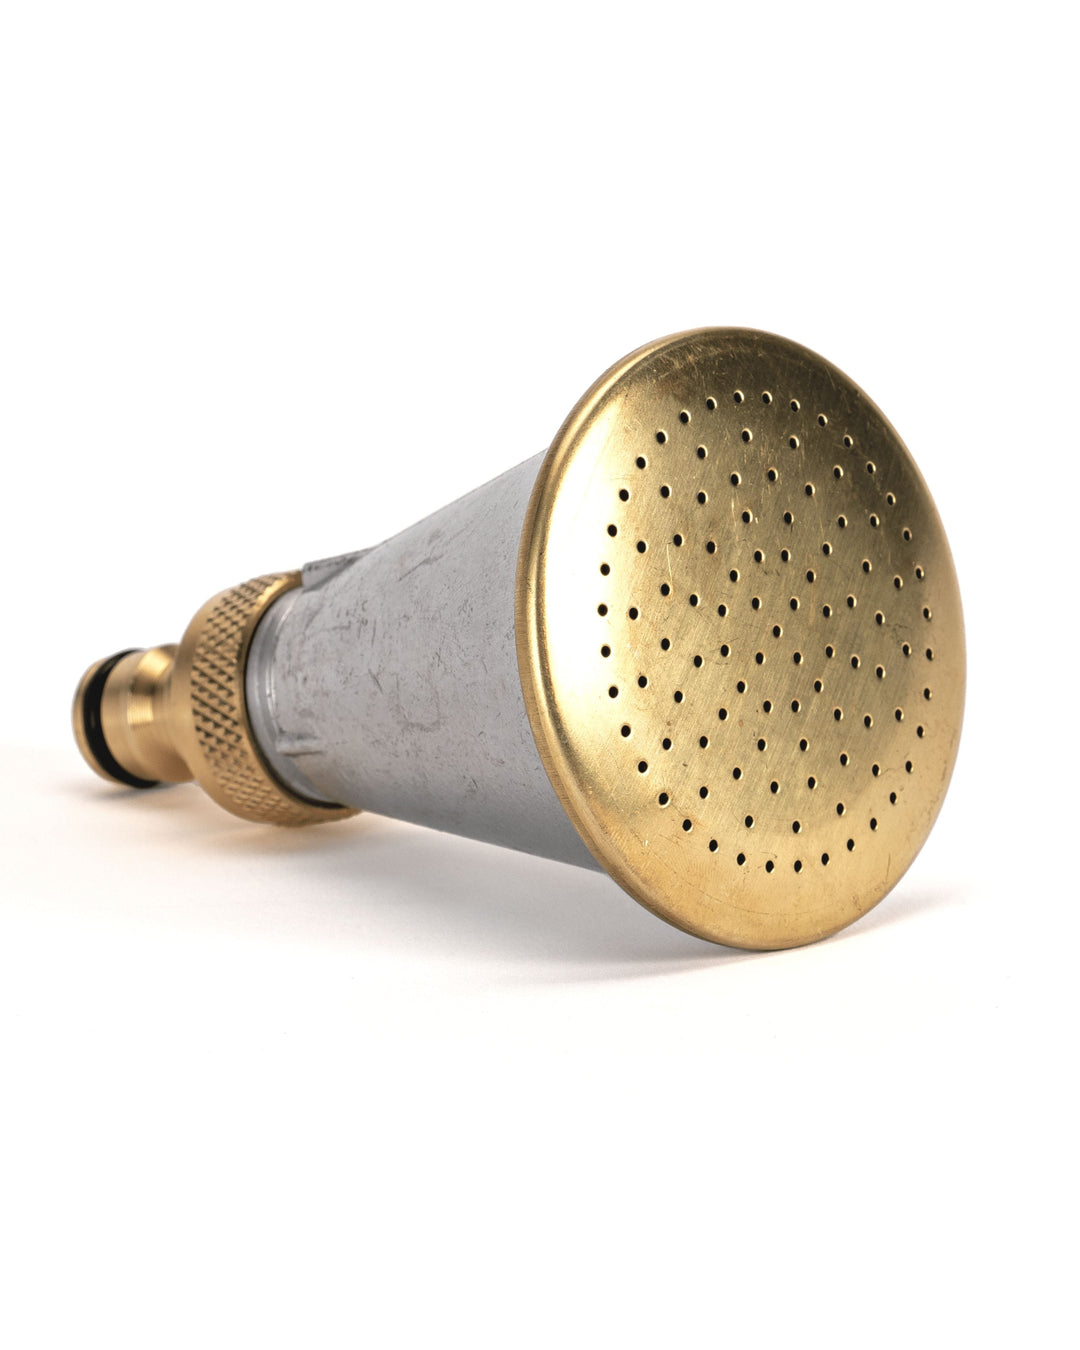
- Shower head
- 3 ground anchors & hex key
- tap connection (pre-assembled)

Assembly - 3 easy steps

1st step
Connection of foot & tap element
In the first step connect the base to the rod element on which the water regulator is mounted.
To do this, put the element on the base and screw the small screw tight with the hexagonal wrench.
2nd step
Installing a shower head
In the second step, we attach the shower head to the second rod element.
To do this, remove the white plastic cap from the shower head and then screw it onto the element.


Step 3
shower assembly
In the third and final step, connect the lower rod element to the rod element + shower head.
To do this, simply put the two parts together and tighten them.


